
This knowledge base totally focuses on how to embed a sidebar widget onto your website. We strongly recommend you to first read this blog post to get a general idea on using widgets.
Let roll down through some steps which gives a clear idea of how to embed this widget. Before that you must have at least one event already created for which you want to create the widget. Once you are done with event creation process, below are the steps for embedding this widget:
-
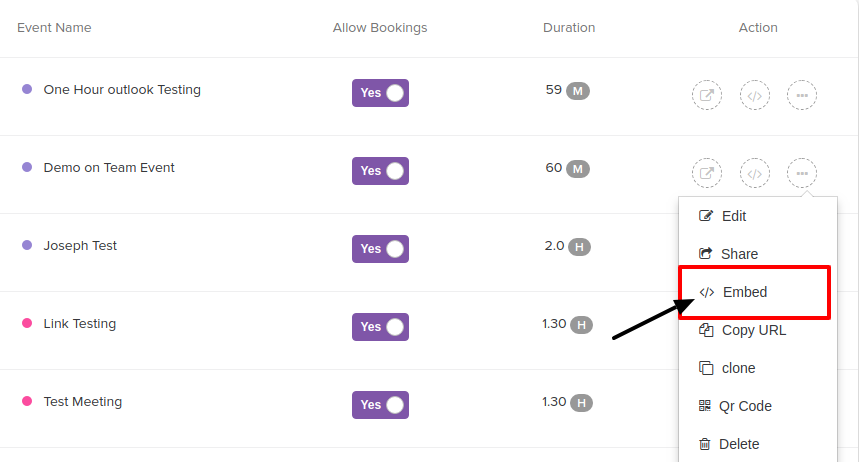
Go to the ‘Events’ section and click on the burger sign (three vertical dots) in front of your event name where a drop down menu appears, select ‘</> Embed’ from the menu.
-
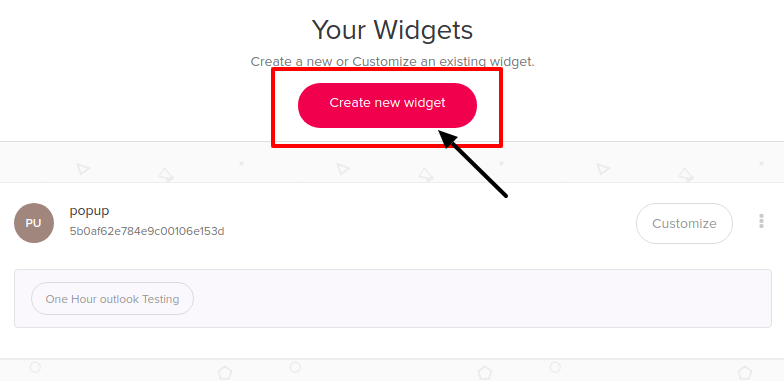
A new window pops up which shows your currently active widgets and also shows option to create a new widget on the middle-top part of the webpage.
-
Click on ‘Create New Widget' button.
-
Give your widget a name to remember and click next.

-
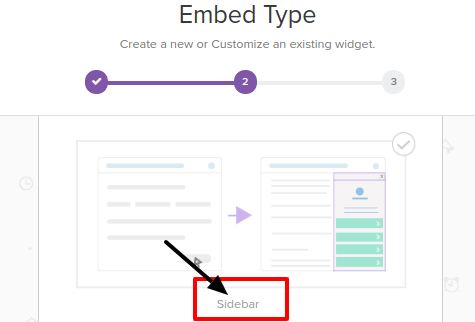
Moving forward, a screen pops up which asks you to select the kind of widget you want. From this screen select Sidebar Widget.
-
Copy this embed widget code into every webpage where you want to show canumeet widget to your visitors.
- Widget Embed Code
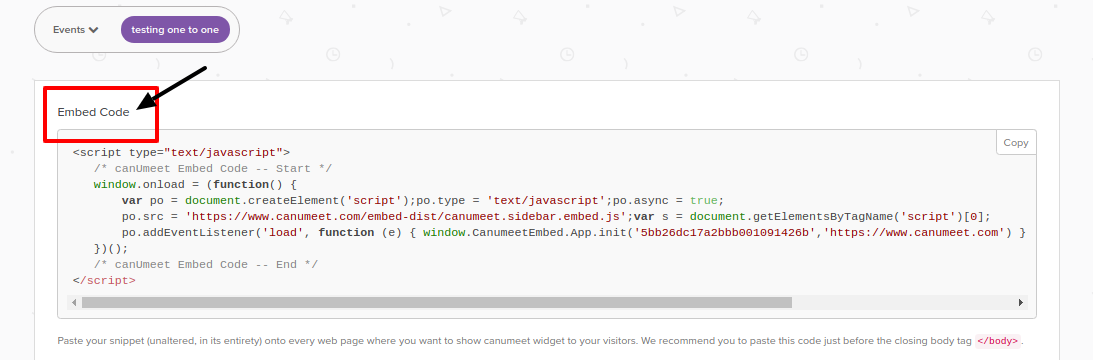
- Widget Embed Code
-
If you want to customize your widget, you can do this just below the snippets where you are provided with a set of options to customize your widgets as per your need. You can also see the preview of your customized widget on the other side.

-
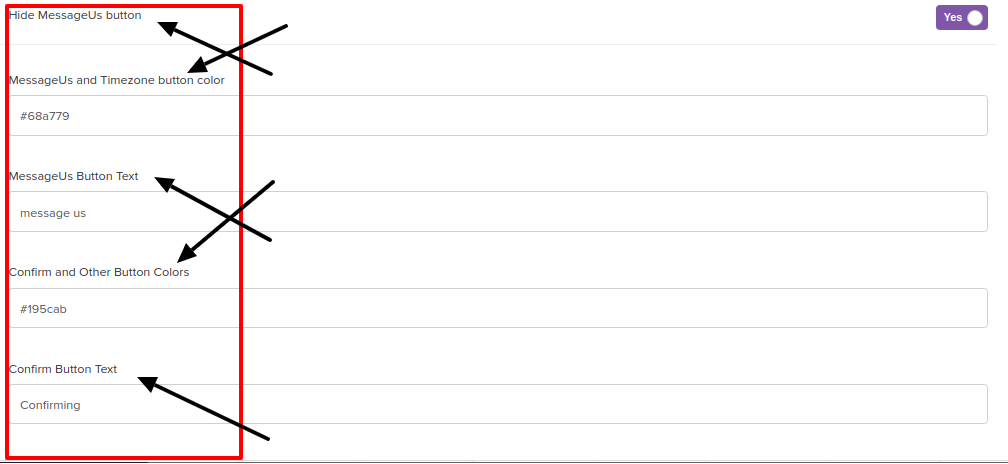
canUmeet also provides users to customise the buttons by colour and text as per their choice. Users just need to input the colours of their choice for the buttons and its done.!
-
Change the customisation option as per your need, select preview to see the widget in action and save to update the details.
Awesome isn't it !!
If you have any queries or suggestions regarding this feature, please feel free to contact us at support@canumeet.com